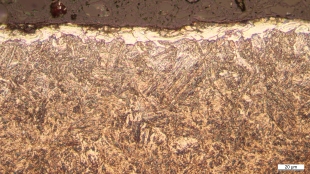
Metallography allows for the detection of conspicuities and the quantitative assessment of a material’s microstructure. In the case of materials for gears or bearings, this encompasses:
Additionally, metallography supports failure analysis by allowing the evaluation of crack networks and the identification of conspicuities in the microstructure or large inclusions close to cracks.
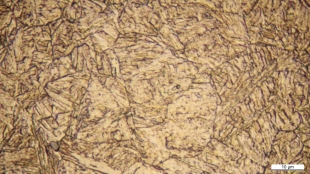
Grain size is especially relevant in materials for gears. DIN 3990 requires grain size numbers according to different material quality levels. Typically, grain size is determined by the ferrite or austentite structure of the raw material prior to heat treatment. Later assessment of heat treated areas can show bainite structures as well – at least with some restrictions.
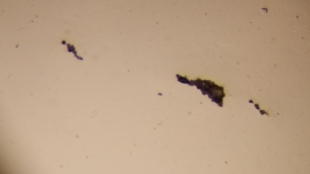
Non-metallic inclusions in steel materials can be assessed according to various standards. For gears, the K-factor method according to DIN 50602 is very common. For bearings, the Jernkontored standard series and ISO 4967 are most relevant.
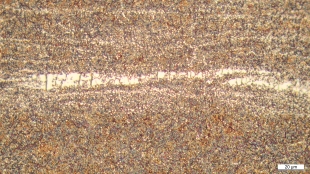
Chromium steels typically form chromium carbide which should appear as fine globes. A homogeneous distribution leads to high material strength while local accumulations of carbides might be signifcant weak points. Therefore, it is essential to restrict admissible non-uniformity and to assess it, e. g. following ISO 5949.
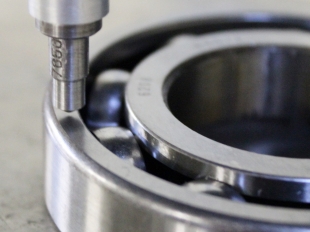
The material hardness is highly important for the operational endurance of many machine elements such as gears and bearings. Several methods are available for hardness measurement. Methods according to Rockwell can be used on parts with parallel faces and no specimen preparation is necessary. In the case of embedded and polished specimens, the Vickers method is typically used.
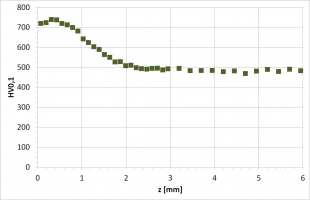
Micro-hardness measurements are very useful for inspection near-surface hardened parts such as case-hardened gears. Micro-hardness is measured at very small testing loads, which allows for measuring at many points with a high resolution. This leads to a quantification of the hardness distribution from which the hardening depth can be determined.
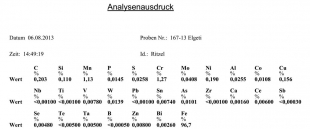
The chemical composition of material specimens is measured via arc-spectrometry. Such an analysis can be used to verify if specimens fulfill the expectations outlined in the relevant technical specifications. Especially in the case of failure analysis, one must frequently clarify whether a substandard material might have been used instead of the required highly alloyed steel.