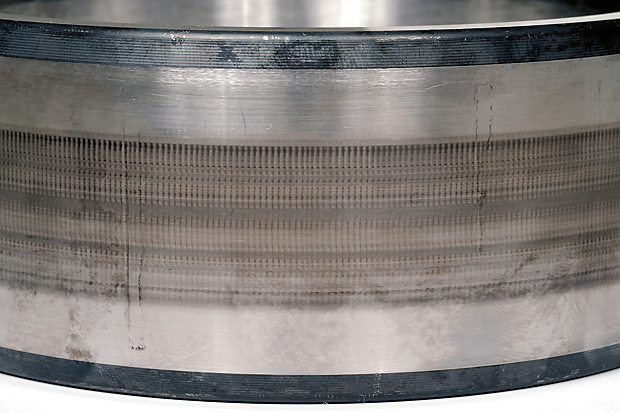
The first step of a bearing or gearbox inspection is a visual assessment. As a rule, each damage mechanism leaves behind characteristic traces which, in turn, through their identification allow the underlying mechanism(s) to be deduced. For example, when inspecting fracture faces it is possible to differentiate between fractures caused by fatigue and overload and, with knowledge of the material properties, to simultaneously deduce the loading conditions. In cases where a visual inspection is not sufficient to determine the root cause of a failure, we will recommend a further material inspection.

In tribological systems different wear mechanisms, for example adhesive wear, abrasive wear, and surface breakdown are present.
In some cases, rolling element fatigue will cause these to present as distinct forms of flaking.
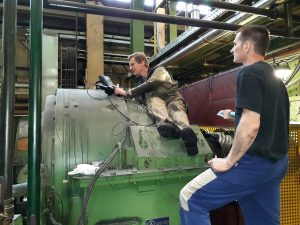
Inspections are carried out both in the laboratory, aided by microscopy as necessary, and in the field. On-site gearbox inspections are especially important for larger machines. They offer the additional benefit of allowing environmental conditions to be identified and can offer important insights into the source of the damage that would not be evident from a laboratory analysis of only the damaged part.

We also offer our on-site bearing and gearbox inspections at off-shore installations. This applies to wind turbines, converter stations and others. Naturally, our inspectors hold the requisite safety certifications such as BOSIET, HUET, etc.. These inspections can also include endoscopy for a more comprehensive evaluation.