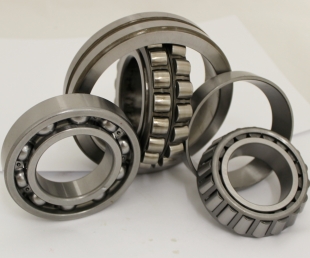
Bearings are a globally sourced commodity. As such, quality control of regular deliveries as well as the evaluation of new suppliers is highly important. The common methods for quality control are either insufficient for detecting most serious flaws or require significant time, effort, and money. Rapid lifetime testing is a quick, cost-effective alternative that can replace all other forms of inspection for incoming shipments and serve as an initial evaluation method for new suppliers.
Download “Bearing life testing for incoming inspection and supplier evaluation” as a PDF.
Find all of our articles here.

Rapid testing of bearings refers to an accelerated test of a handful of samples to detect flaws. These tests are most frequently employed when approving new suppliers and during routine quality control.
As a globally sourced commodity, there are numerous bearing producers on the market. Many of these producers make very attractive offers – only for a factory audit to reveal that they are incapable of delivering the desired quality. When dealing with a large number of contenders, performing an audit on all of them would be an expensive and inefficient method of narrowing the field. Instead, it is sensible to acquire samples from each company and subject them to a rapid test. The test demonstrates which companies have potential and a subsequent factory audit will determine which of these make it to the final round of investigation.
Alternatively, even when a supplier has been approved and shown to be able to deliver a quality product, there can still be issues with quality stability. Incoming inspections should be performed on a routine basis to identify faulty product.
Different methods are available. The most basic option is a visual inspection and measurement of outer dimensions; a more thorough investigation involves measurements of the raceways and metallurgical inspections. The latter techniques are pricy and therefore generally only applied to one or two bearings in a batch, making a blanket statement about the overall quality of that batch a questionable conclusion. One or two rapid tests are an affordable alternative capable of catching all major flaws.
The scope of a standard sample inspection depends on several factors but should be done both during supplier approval and as part of routine quality control. The most common methods include measuring the outer dimensions and microgeometry of the raceways, the noise and vibrations, and the material quality.
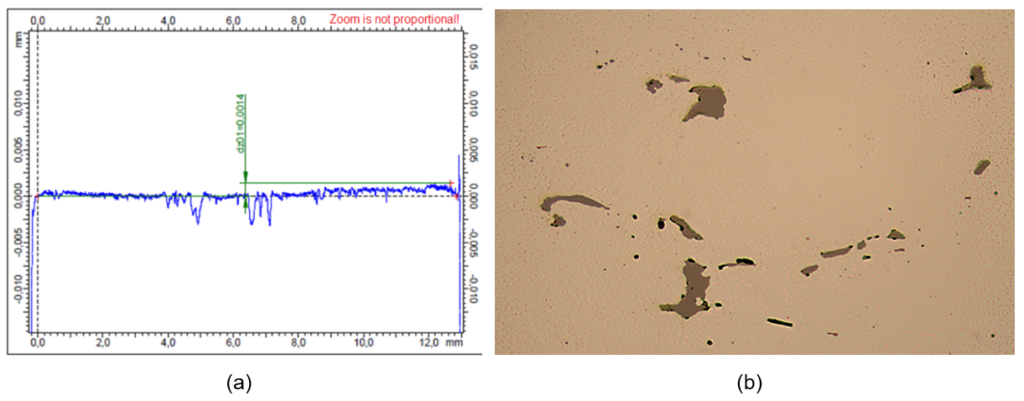
The simplest and cheapest approach is to simply check the appearance and outer dimensions. These measurements do not require expertise and can be done with relatively simple and affordable tools. Measuring the microgeometry of the raceways is, however, somewhat more involved. In addition to possible disassembly of the bearing, it requires specialized equipment and competent supervision. Measuring the noise and vibrations require a short spin on a basic test rig. Although relatively quick, this again requires specialized equipment and competent personnel. Examining the material quality is the most involved method, requiring not only several machines for the different steps in sample preparation but also quality microscopes and trained personnel.

Measuring the microgeometry and performing the metallurgical inspection are both significantly more expensive than the other methods and therefore generally only used on one or perhaps two samples per batch. The problem is that when different quality levels may be mixed within batch, the probability of catching the problem in a single bearing can be quite low.
Rapid lifetime testing is a viable alternative to all of the inspection techniques just outlined. It is capable of detecting the most common production faults and transportation damages that are likely to cause premature failure as well as conspicuous noise and problems with the outer dimensions. It is not intended as an evaluation of general performance; rather, the aim is to confirm that there is nothing obviously wrong. Detectable faults include geometrical deficiencies (differently sized rolling elements, dimensional deviations, significantly improper raceway geometry, faulty radial clearance), material deficiencies (highly unqualified material, hardening cracks, improper heat treatment), and fabrication errors (grinding burns, contamination, raceway corrosion).
A minimum of four samples must be tested per batch for the results to have statistical merit. Samples should be taken at random from different locations in the container. Tests run for twice the calculated lifetime. For typical lifetimes of 50-80 hours, tests therefore run 100-160 hours. Including one working day for setup, a run can be completed within seven days.

The test setup and number of tests required depend upon the bearing type.
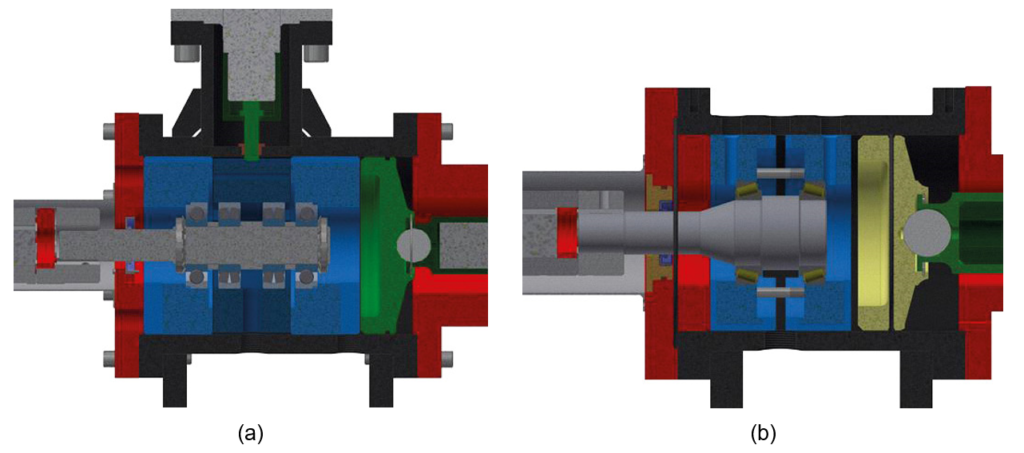
For deep groove ball bearings, four samples can be subjected to a radial load simultaneously and thus only one test run is required. Cylindrical roller bearings are also radially loaded, but since the shaft bending is different at different locations along the shaft, only two samples may be tested at once with the help of two support bearings and therefore two tests are required. Tapered roller bearings and single row angular contact bearings are both axially loaded in pairs and thus also require two tests. Two row angular contact bearings may also be tested in a three bearing setup, where the central bearing experiences the complete radial load and the outer two only half; the latter are also loaded axially to achieve the same lifetime expectation. This setup is particularly sensitive to deviations in the contact angles.
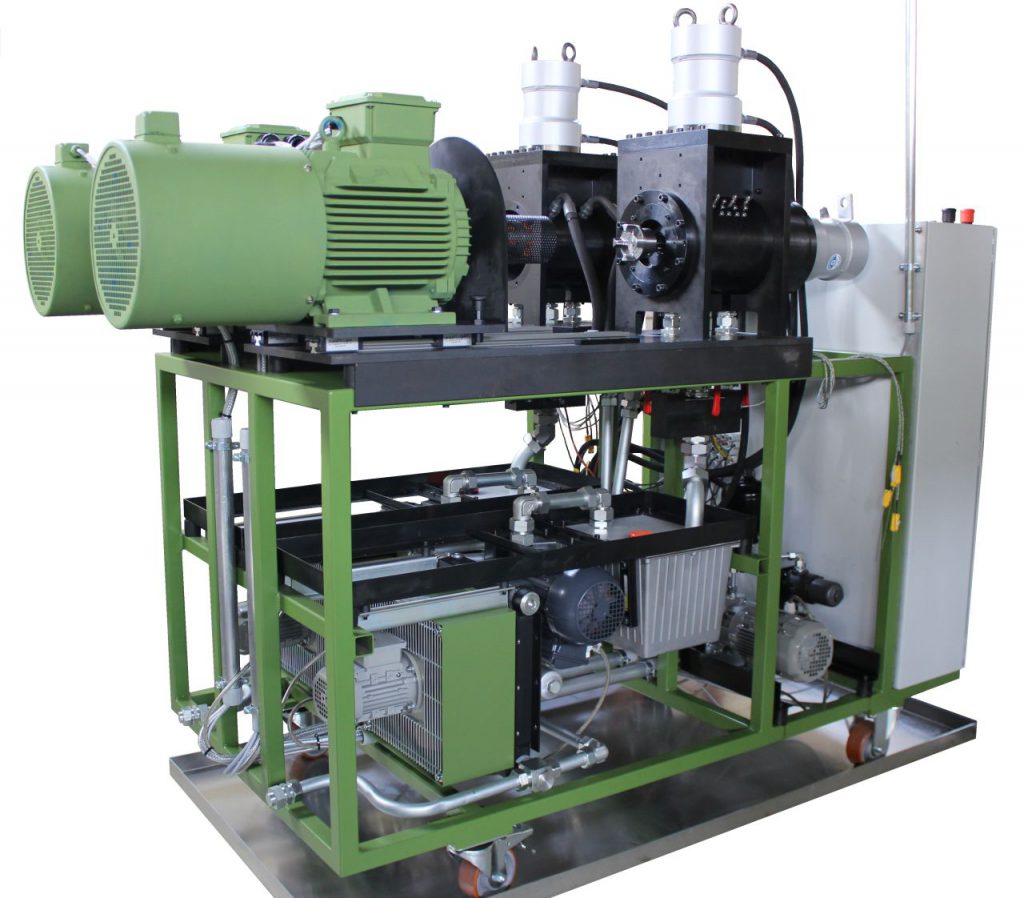
Elgeti Engineering test rigs are equipped with two fully independent test stations and are available in four sizes to accommodate bearings up to 320mm outer diameter. They are designed to test the lifetime of any kind of bearing under different loading and lubrication conditions.

The bearings are mounted on a horizontal shaft while the non-rotating outer rings are loaded axially, radially, or both by controlled hydraulic cylinders. The shaft is driven by an electric motor with a frequency converter, allowing speeds to be both controlled and variable. The motor and shaft are connected by a flexible coupling which compensates for misalignments and isolates the test head from motor vibrations. The motor and test head are both attached to a stiff base plate which is supported on the frame by two rows of flexible buffers. This ensures that the test bearings are minimally influenced by external vibrations, especially those coming from the opposing test station.
The temperature is controlled through the lubrication system. The oil is pumped from the tank through an air cooler and filter before reaching the test head; heating is optionally available, though typically not required for standard testing. The speeds of the cooler and pump are controlled by frequency converters, allowing both the temperature and flow rate to be adjusted. The temperature of the oil inlets and outlets to the test head are continuously measured. Their average is assumed to approximate the mean oil temperature inside the test head and thus the target quantity of the automated temperature control.
Additional measurements are taken of the outer ring temperatures, motor torque, and housing vibrations, all of which can be used to detect a bearing failure.
For bearings with outer diameters under 200mm, rapid lifetime testing on a least four samples can be carried out within a week and can be significantly cheaper than performing metallurgical and geometrical inspections on only one or two samples. It is therefore a suitable method of quality control of incoming goods before releasing a container and as a first impression of a potential new supplier’s quality prior to a factory visit.